Integrating Let’s Encrypt SSL With ISPManager Control Panel
I think a lot of you have already read the news about plans of Google to start labeling as “insecure” all websites that transmit passwords or ask for credit card details over plain text HTTP. This is another great reason why Let’s Encrypt, a service delivering free SSL/TLS certificates, is rapidly gaining traction. The key feature of Let’s Encrypt is secure data encryption over HTTPS protocol for any web project.
Until recently, the only downside of Let’s Encrypt had been a time consuming process of certificate issue. It had always scared off those users who simply didn’t have enough command line skills. Restricting certificate validity periods with 90 days for security purposes was only worsening the situation.
In order to fix it, LE developers created a process automation script which was smoothly integrated in ISPmanager, a hosting control panel. By using the intuitive interface of ISPmanager any user can easily receive a free SSL/TLS certificate from Let’s Encrypt for their website. Furthermore, the following processes are fully automated in ISPmanager:
- Issue;
- Installation;
- Renewal of SSL/TLS certificates.
I have already told you about ISPmanager, a control panel with premium functionality and affordable price of 4 EUR/month. Let’s Encrypt alone can cover your expenses for ISPmanager if there are a few domains created. In the given article I’m going to tell you about how user friendly and intuitively this functionality is organized.
* Trial (unlimited in functionality) can be downloaded from ISPmanager website.
How to Install Let’s Encrypt SSL on ISPManager
Step 0 – First of all, let’s create a website with free Joomla CMS (see Joomla installation in ISPmanager).
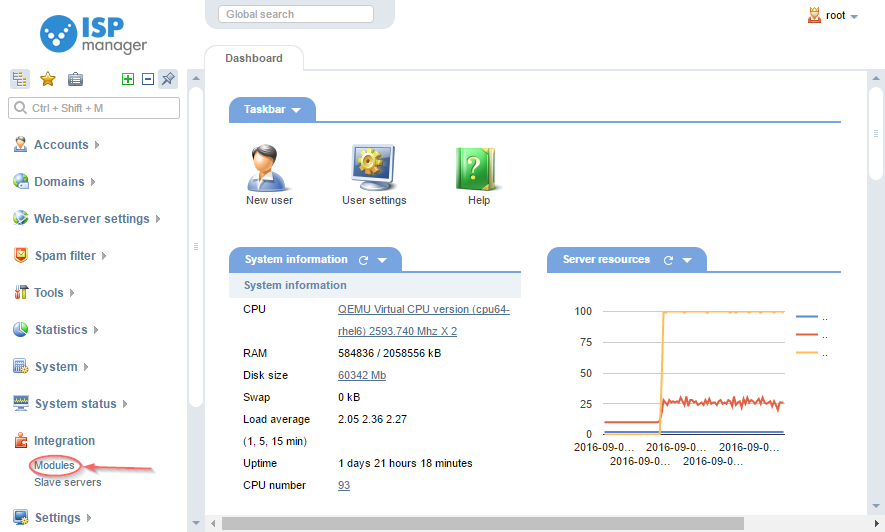
Step 1 – Open ISPmanager and install the free Let’s Encrypt integration module. Login as root, then go to “Integration” → “Modules” and click “Install” against “Let’s Encrypt”.
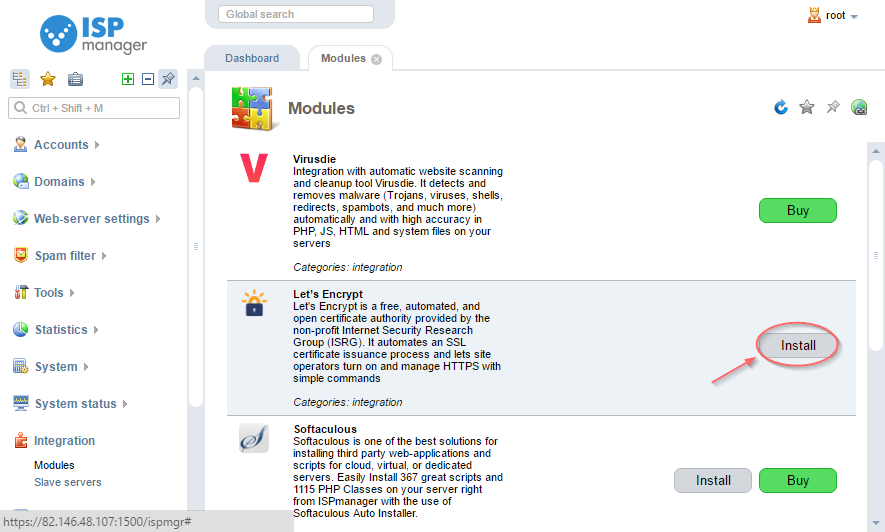
Step 2 – Click “Ok” after the module is installed.

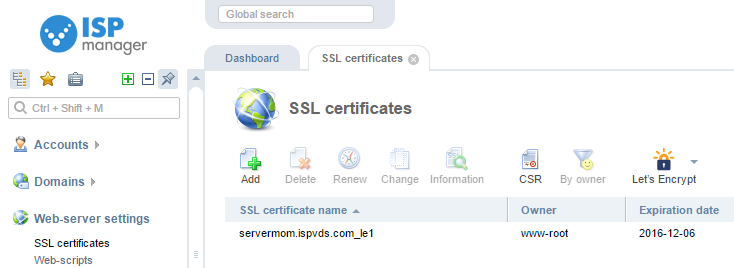
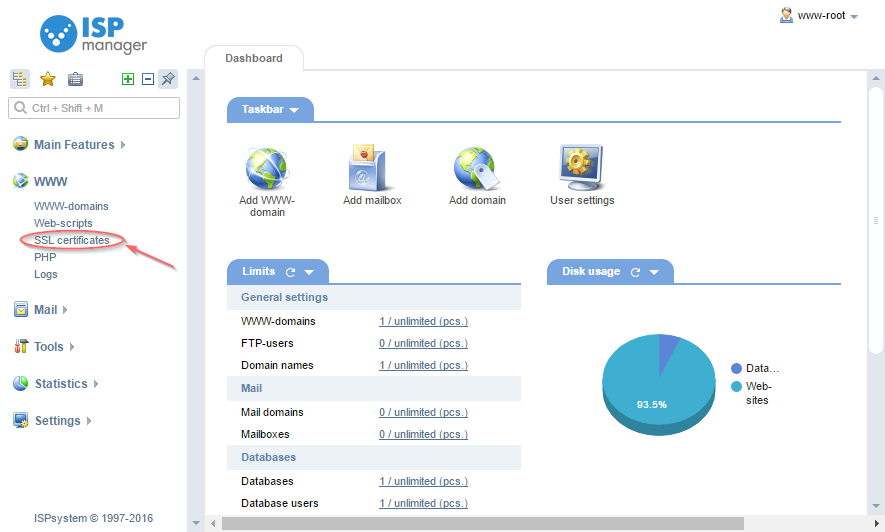
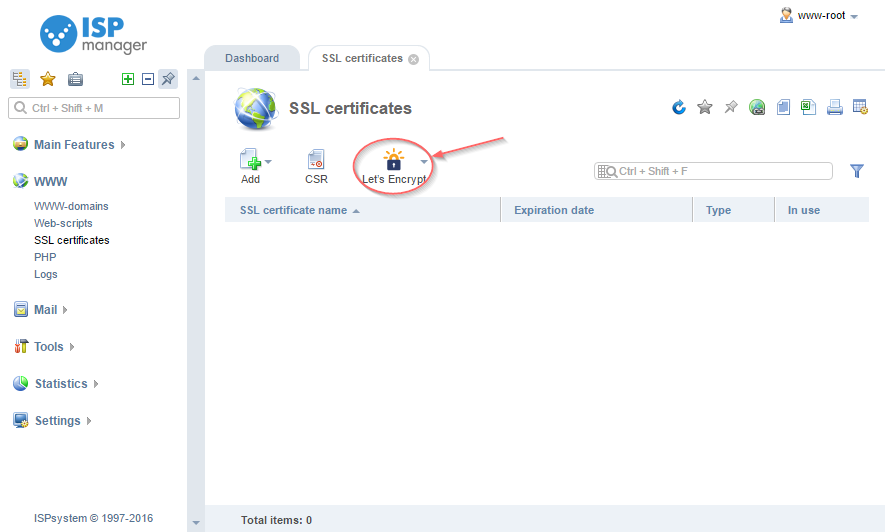
Step 3 – Next, you can issue the SSL certificate by going to “WWW” → “SSL certificates” and click “Let’s Encrypt”.
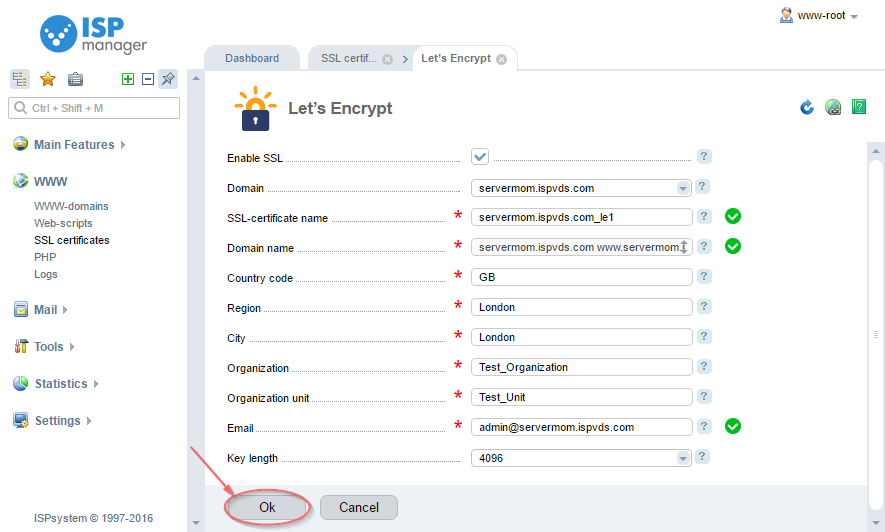
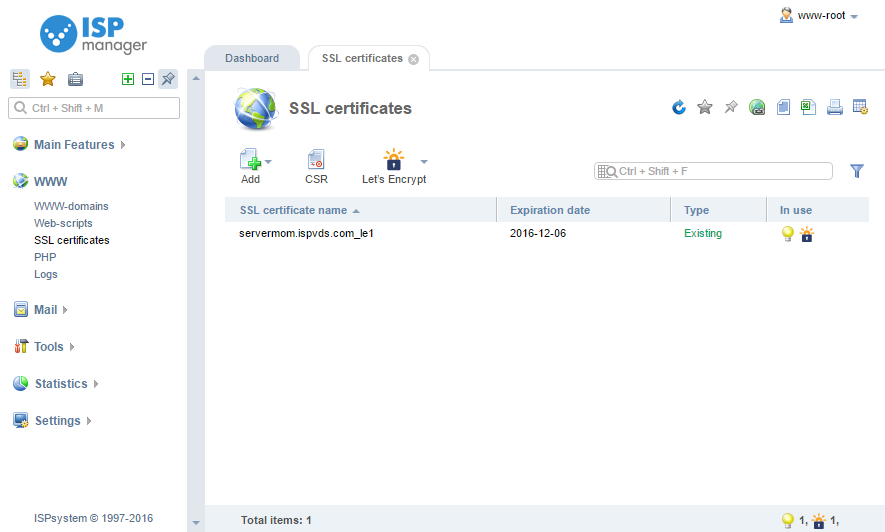
Step 4 – Fill out a form with information about your website and company, then click “Ok”. In a few minutes a Let’s Encrypt certificate will be issued and installed. The certificate will be available in SSL certificates menu.
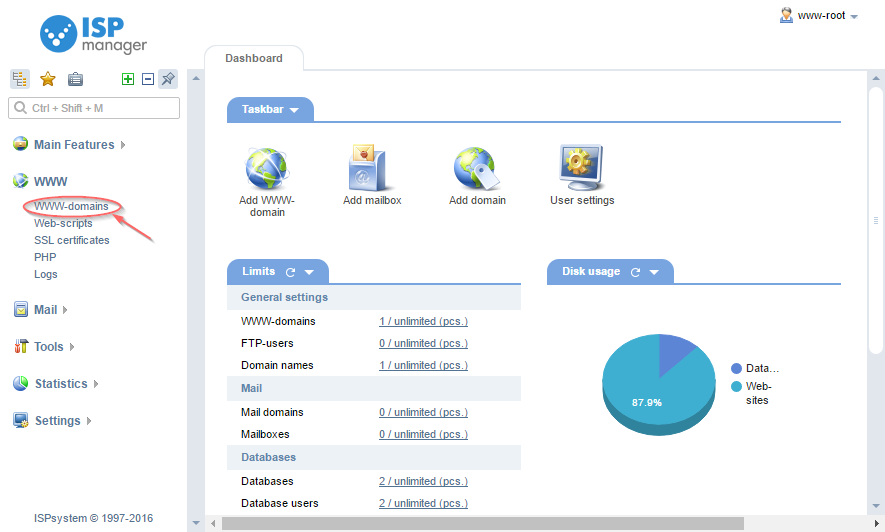
Step 5 – Now you need to set up redirection of requests from HTTP website to the secure HTTPS. Visit “WWW” → “WWW-domains”, then choose a domain in question and click “Edit”.
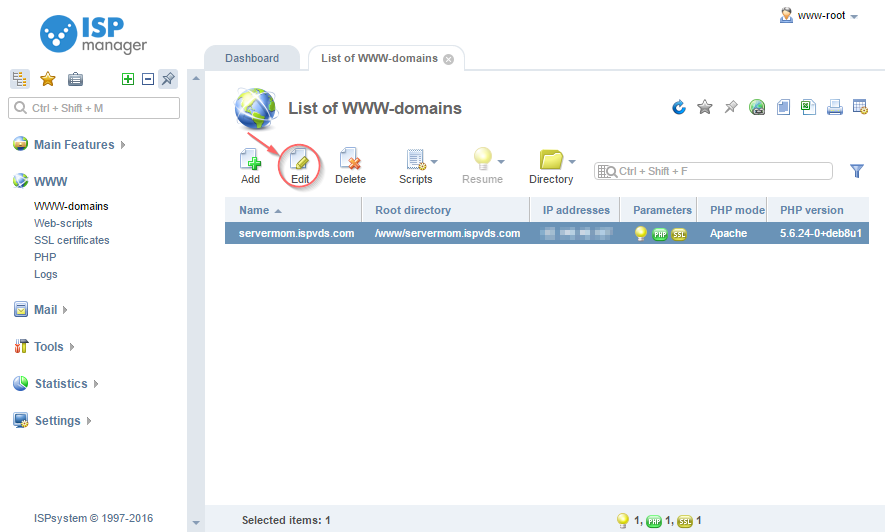
Step 6 – Check the box “Redirect HTTP-requests to HTTPS” and click “Ok”.

Step 7 – Now your domain is secure. The certificate will be updated automatically every 3 months, and your website visitors can be sure that their data is secured. I hope it will help making your clients even more satisfied!
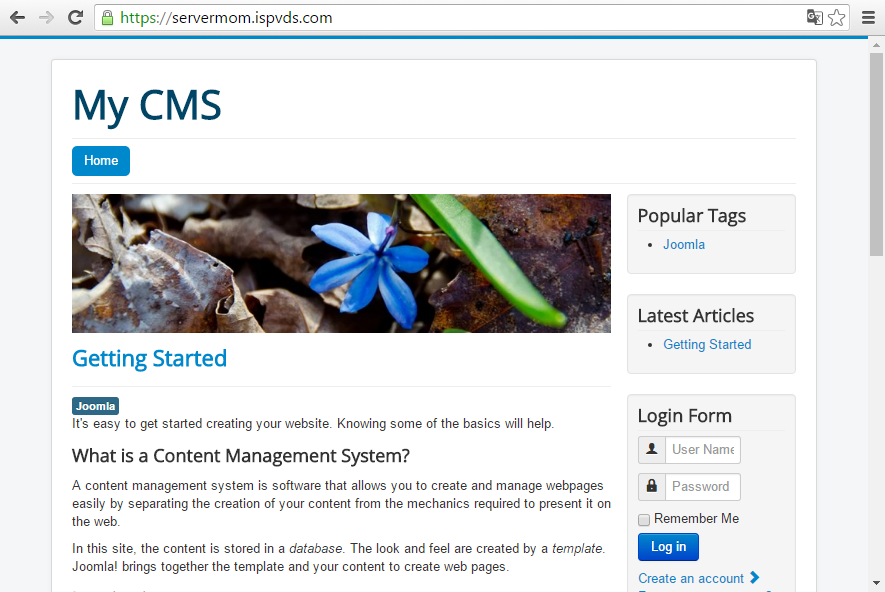
Voila! Your website is now accessible through https:// protocol. Enjoy!

