How to Install Vestacp Nginx LEMP Stack with Redis Caching on Ubuntu
This simple step by step tutorial will show you some basic information on how to setup Nginx with standalone Nginx and PHP-fpm (instead of the default one: Nginx as frontend proxy with Apache as backend) complemented with Redis in-memory object caching. The purpose of this setup is to build a fast and lightweight server to host your websites but still to make use of the easiness of VestaCP to setup the whole LEMP stack. Hence, the overall process will be way faster to setup.
We have posted a short review previously talking about how powerful a Vestacp-based server can handle real world traffics on a real production server. Many of readers suggested us to try it with Nginx with php-fpm configuration. Therefore, here we are now trying to build another Vestacp server with different configuration.
Also read: Vestacp Performance Review on OpenVZ VPS.
About Redis
Redis is shortly an in-memory object caching. It might be similar to Varnish but it is basically different and hence it can also be combined with Varnish (we may cover that in another article). Redis is a data structure server that can be used as a database server on its own, or paired with a relational database like MySQL to speed things up. Technically, Redis supports data structures such as strings, bitmaps, hashes, lists, sets, sorted sets with range queries, hyperloglogs and even geospatial indexes with radius queries. It is the most popular key-value database and the name Redis itself means REmote DIctionary Server.
REQUIREMENTS
- A SSH client like Bitvise or Putty and basic knowledge about how to use it.
- Basic knowledge about common Unix command to SSH to your server.
- A server or VPS with at least 256MB of RAM (OpenVZ) but 512MB is very recommended if you are using KVM or Xen.
- Ubuntu 12.10 – 15.10 either 32-bit or 64-bit (or any version of Ubuntu supported by Vestacp).
- About 15 minutes of your time.
- a cup of coffee or tea.
Confused on choosing which VPS provider to setup an Apache based hosting server? Read my recommended VPS providers or this list of top low end cloud server providers. Quick recommendation: Digital Ocean, Vultr or Ramnode.
In this guide I am using a 512MB RAM Openvz VPS running Ubuntu 15.10 x64.
Do not forget to always replace servermom.xyz with your own domain name and replace x.x.x.x with your server IP address.
Install VestaCP
First, we are going to do custom VestaCP install including only Nginx webserver and PHP5-fpm with any additional services you want like MySQL, DNS, FTP, firewall, and so on.
Step 1 – Open up your favorite web browser and open VestaCP website at:
Step 2 – Scroll down the page a little bit until you’ve seen “Advanced Install Settings“.
Step 3 – Pick all available options you want to install. Obviously you have to choose Nginx + php-fpm instead of Nginx + Apache. Here’s custom setup that I use in this article:
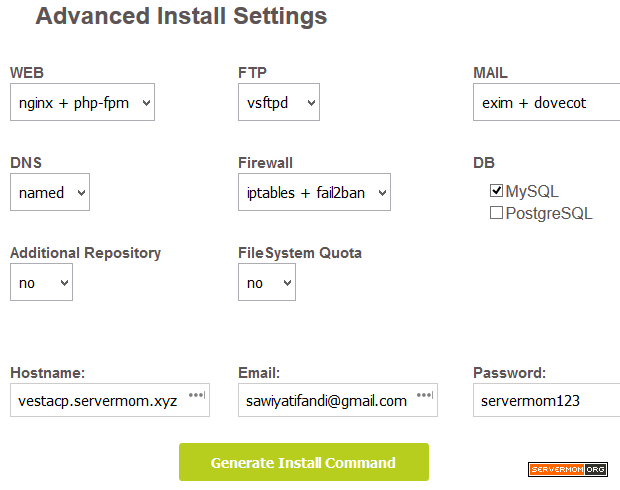
Step 4 – Finally, click the green “Generate Install Command” button.
Step 5 – Now you will get the install command similar to this :
# Run it
bash vst-install.sh --nginx yes --phpfpm yes --apache no --vsftpd yes --proftpd no --exim yes --dovecot yes --spamassassin no --clamav no --named yes --iptables yes --fail2ban yes --mysql yes --postgresql no --remi no --quota no --hostname vestacp.servermom.xyz --email sawiyatifandi@gmail.com --password servermom123

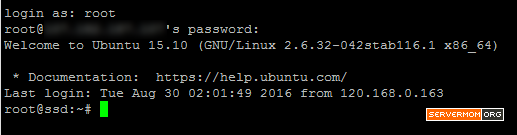
Step 6 – Now open up Putty and login to your server as root or as a user with root privilege (sudo).
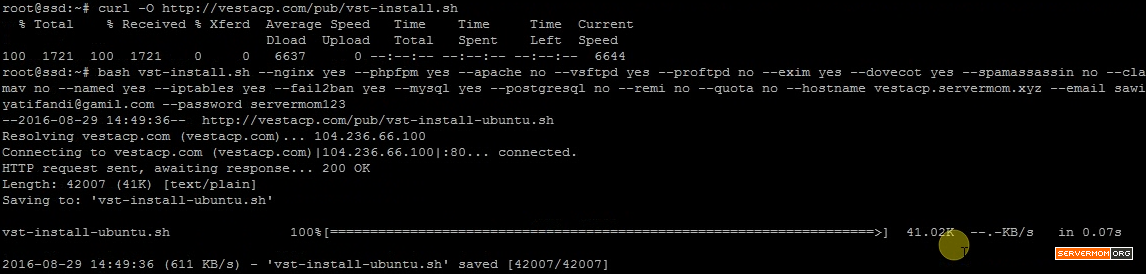
Step 7 – Now download Vestacp installer file using this command :
curl -O http://vestacp.com/pub/vst-install.sh
Step 8 – Finally, copy and paste the previously generated install command afterwards:
Step 9 – Answer Yes when asked
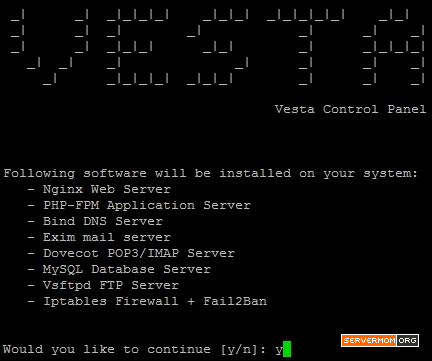
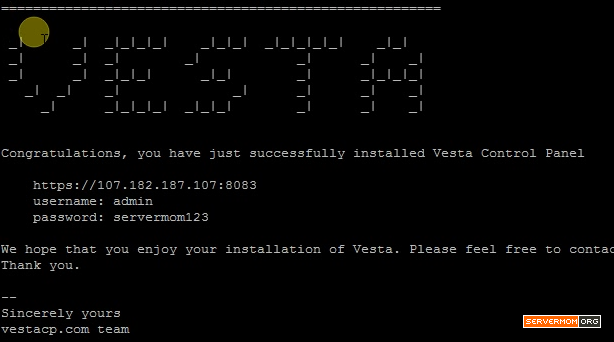
Step 10 – Now simply wait the whole install process. Once done, you will see something like this :
Basic Vestacp Configuration
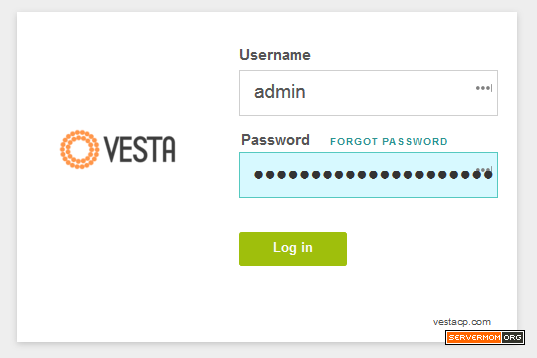
Step 1 – Open up your web browser and login to Vestacp administration area via following url:
https://x.x.x.x:8083/
replace x.x.x.x with the IP address of your vps
Step 2 – Now login as admin using the password you have defined:
Step 3 – Click on the “Packages” menu at the top of the page.
Step 4 – Then click on the green “Add Package” button.

Step 5 – In the next page, fill in all required fields to create your own ready-to-use hosting package. You can repeat this step to create another packages with different settings (e.g: hosting quota, bandwidth limit, number of websites, and so on). The most important part is to choose the right template. There are many ready-to-use nginx config template. In this example I choose to use WordPress template.
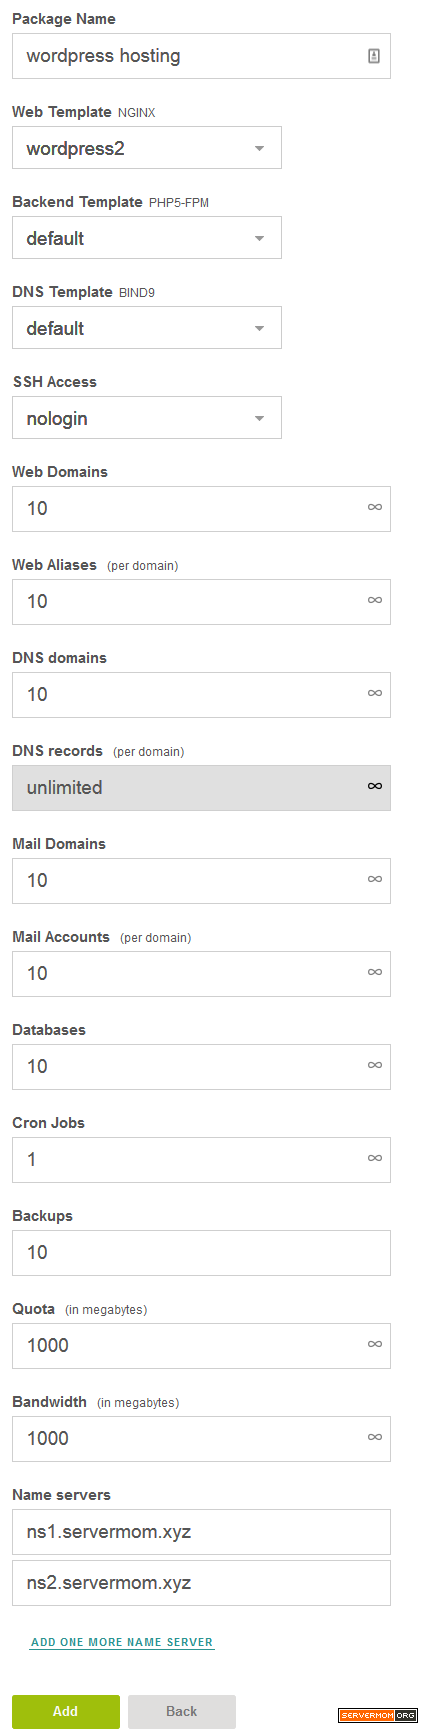
Click on the green “Add” button once done.
Install Redis Server
Step 1 – Go back to putty and make sure you logged in as root or as a user with root privilege.
Step 2 – Now firstly check which version of PHP running on your server.
php -v
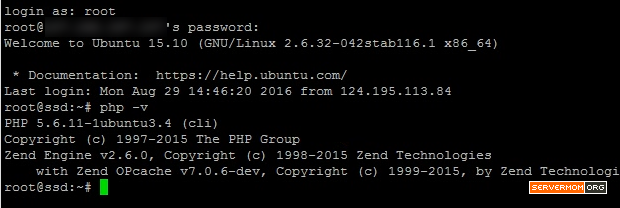
Make sure you have PHP 5.x
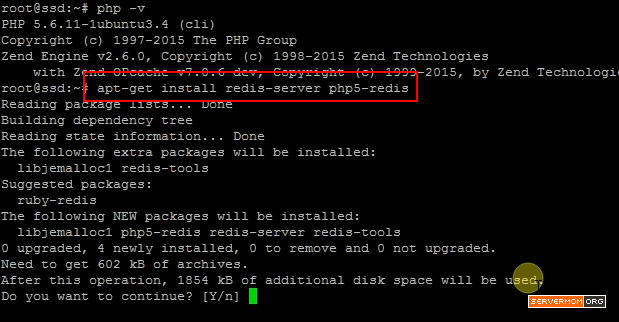
Step 3 – Now let’s install Redis server and required PHP modules using this command:
apt-get install redis-server php5-redis -y
Step 4 – Next, we’ll need to firstly define how much RAM will be allocated to store Redis cache and make sure Redis works as a caching server instead as a NoSQL database store. For that purpose, edit Redis configuration file:
nano /etc/redis/redis.conf
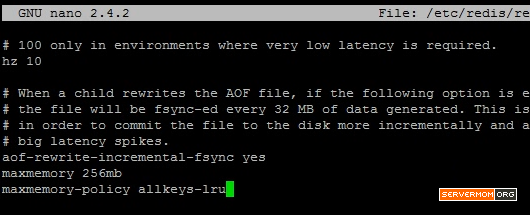
Step 5 – Scroll down the page and put these two lines in at the bottom:
maxmemory 256mb
maxmemory-policy allkeys-lru
Now hit Control+O and then Control+X to save and exit editor.
p.s: You can install Nano using this command:
apt-get install nano -y
Step 6 – Finally, restart all related services.
service nginx restart
service php5-fpm restart
service redis-server restart
Wrapping up
At this point, you will have a ready to use Vestacp server powered with LEMP stack (Linux, Nginx, MYSQL, PHP) enhanced with Redis server built on Ubuntu vps.
In the next tutorial : How to add new site and install WordPress in Vestacp Nginx+Php-fpm+Redis server.
Stay tuned with us.


Great tutorial,but what is Redis and for what reason need him install?
Greate tutorial Sawiyati, Can I install redis on serverpilot same way?
Hello Sawiyati,
Could you help us with your knowledge more than it helps?
I have a wordrpress site in Ubuntu 14.04 + vestacp and would like to use OpenERP or vtiger crm open source.
There is the possibility of a tutorial teaching install crm in ubuntu?
It is possible to install these crm within a folder on the site using vestacp?
Thank you for your help!
I wanted to try this as well, so I followed your tutorial. I’ve installed VESTA at least 20 times previously without issue, however with this setup, I keep getting:
Error: php-fpm restart failed
Error: can’t create prototype.example.com domain
I tried this in Ubuntu 14.04 x64 and 16.10×64 and got the same error both times on a 4 CPU digital ocean VPS. Thoughts?
The only code run prior to the setup scripts are:
sudo apt-get update
sudo apt-get dist-upgrade
curl -O http://vestacp.com/pub/vst-install.sh
And I add –force after bash vst-install.sh