Add a new site in Vestacp Nginx+Php-fpm+Redis server (and install WordPress)
Continuing our last article on how to setup a lightning fast webserver based on VestaCP with super LEMP configuration of Nginx, Php-fpm, MySQL, and Redis caching. Previously we have told you how you can easily have such configuration making use of VestaCP, a free control panel software that can be installed easily. This time, we are going to show you some basic steps necessary to add a new website, manually install WordPress, and configure Redis caching to boost up site load performance. On top of that, such webserver configuration can also reduce overall system load of your server.
REQUIREMENTS
- A SSH client like Bitvise or Putty and basic knowledge about how to use it.
- Basic knowledge about common Unix command to SSH to your server.
- A server or VPS with at least 256MB of RAM (OpenVZ) but 512MB is very recommended if you are using KVM or Xen.
- Ubuntu 12.10 – 15.10 either 32-bit or 64-bit (or any version of Ubuntu supported by Vestacp).
- About 10 minutes of your time.
- a cup of coffee or tea.
Confused on choosing which VPS provider to setup an Apache based hosting server? Read my recommended VPS providers or this list of top low end cloud server providers. Quick recommendation: Digital Ocean or Vultr.
In this guide I am using a 512MB RAM Openvz VPS running Ubuntu 15.10 x64.
Do not forget to always replace servermom.xyz with your own domain name and replace x.x.x.x with your server IP address.
Prerequisite: You must firstly install VestaCP LEMP and Redis server on your vps following our previous guide.
Add A New Website
Let’s add new website on your newly installed Vestacp LEMP server following steps below:
Step 1 – Open up your favorite web browser and login to Vestacp administration page at following url:
https://x.x.x.x:8032
or
https://host.domain.tld:8083
and login as Admin using password you’ve setup earlier.
Step 2 – Next, go to Web and then click the “Add Web Domain” button.
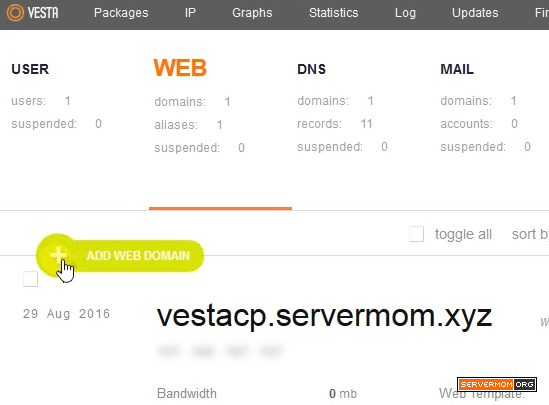
Step 3 – Enter your domain name in the Domain field >> choose the IP address you want to assign (if you have more than one IP) >> then click the green “Add Domain” button.
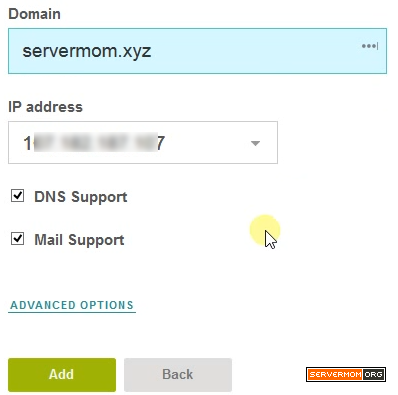
Pretty easy isn’t it? Once done, you will see something like this..

Step 4 – Now you can start adjusting your DNS settings to point to your server. In this example we use default Namecheap DNS manager instead of using Vestacp DNS (by using ns1 and ns2 of my domain). Alternatively, you can also try following our previous guide on how to use Cloudlfare to point your domain to your server.
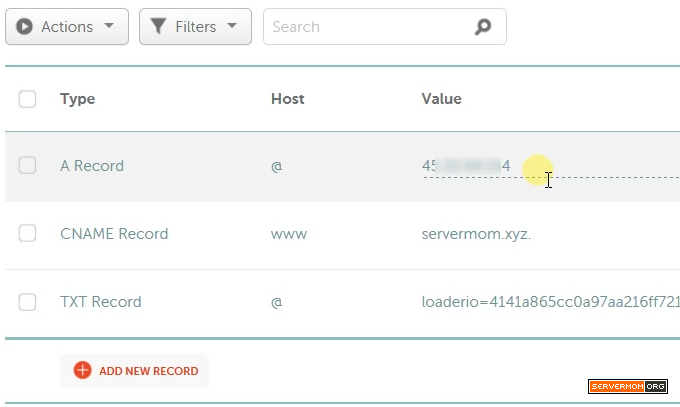
Also read: Ultimate list of free DNS hosting services.
Install WordPress
Now we are going to install WordPress on Vestacp manually through command line interface. However, we are not going to use WP-CLI.
Step 1 – Open up Putty or Terminal again and ssh to your server:
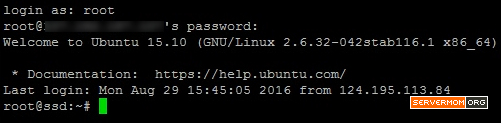
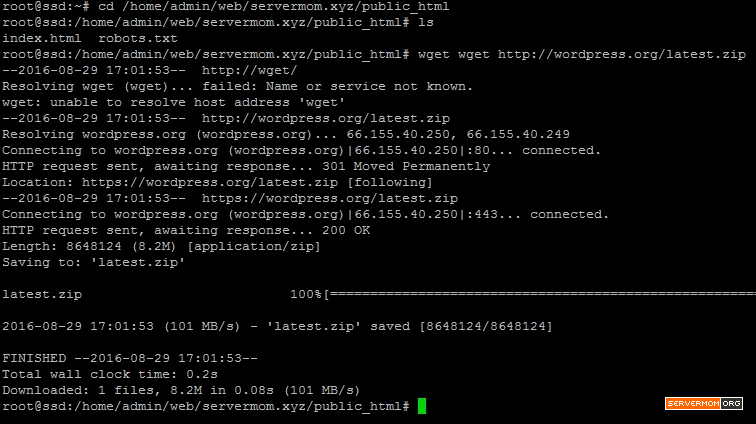
Step 2 – Now go to web root folder of your domain and download WordPress package into it.
cd /home/vesta-username/web/domain.tld/public_html
wget https://wordpress.org/latest.zip

##example:
cd /home/admin/web/servermom.xyz/public_html
wget https://wordpress.org/latest.zip
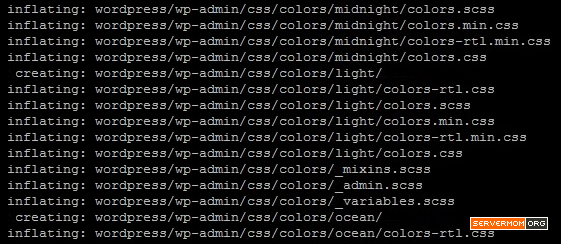
Step 3 – Extract WordPress package using simple unzip command:
unzip latest.zip
If you haven’t had zip / unzip installed, you may install it using this simple command:
apt install zip -y
Step 4 – Normally, WordPress files will be extracted inside the “wordpress” folder whereas you need to have them stored in your web root folder. Issue command below to accomplish that task:
cd wordpress
(shopt -s dotglob; mv -- * ..)
cd ..
rmdir wordpress
That will move all wordpress files to upper directory and remove the unnecessary wordpress folder.
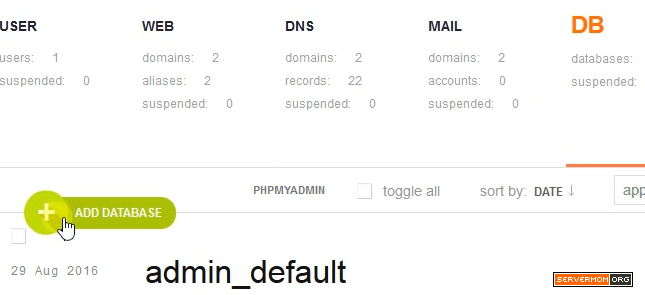
Step 5 – Next, firstly create new mysql database to store WordPress database. In Vestacp, go to the DB menu and click the green “Add Database” button.
Step 6 – Fill in all required fields and note down the database name, database user, and its password. Notepad will come in handy for that task. Please remember that both database name and database username will have username_ preffix (e.g: admin_dbname)
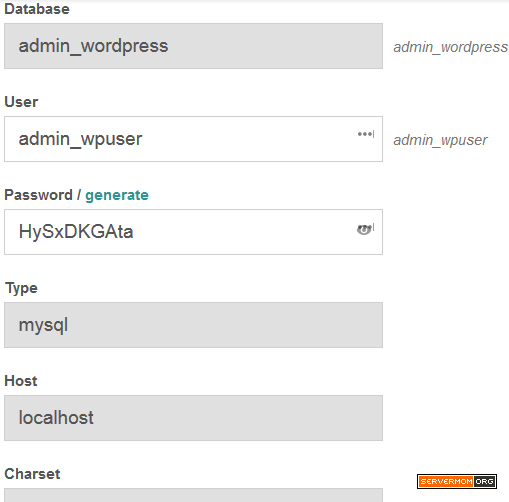
In this example we have admin_wordpress as database name, admin_wpuser as database username, and the password above.
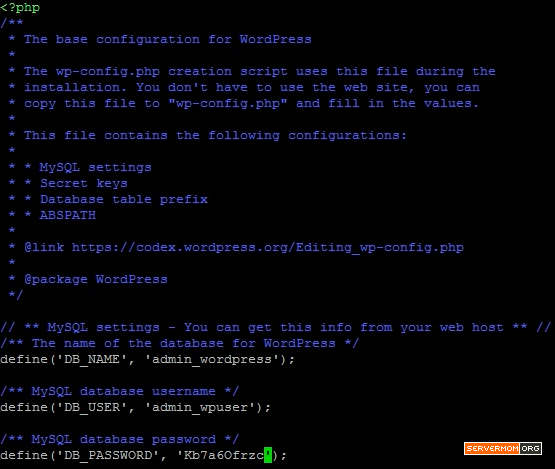
Step 7 – Back to Putty or Terminal. Rename wp-config-sample.php to wp-config.php and edit the file using Nano text editor.
mv wp-config-sample.php wp-config.php
nano wp-config.php
![]()
Step 8 – Paste all database credentials you have created before:
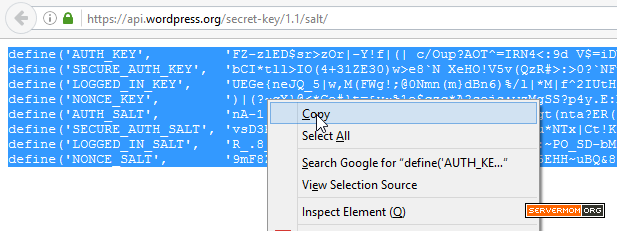
Step 9 – Scroll down the page a little bit until you see WP Salt section. Open up your browser and access this url:
https://api.wordpress.org/secret-key/1.1/salt/
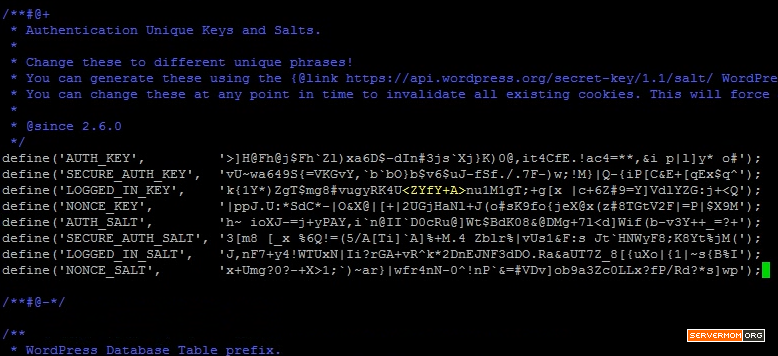
Copy what displayed there into wp-config.php replacing the template:
Step 10 – Open up your web browser and access your domain. You will be then presented with WordPress installation page. Just fill in all required files accordingly.

Finally click that “Install WordPress” button.
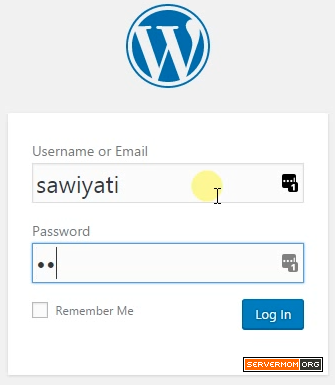
That’s it. You can now login to WordPress Dashboard using username and password you have defined.
Redis for WordPress
We have our server configured with Vestacp, Nginx, Php-fpm, Mysql, and Redis. We have also installed WordPress on it. Now there’s a secret formula to make WordPress make use of Redis cache mechanism.
Step 1 – Login to your server again via Putty or Terminal and go to the WP Content folder.
Step 2 – Download a ready-to-use Redis php script for WordPress.
cd /home/admin/web/servermom.xyz/public_html/wp-content
wget https://assets.digitalocean.com/articles/wordpress_redis/object-cache.php
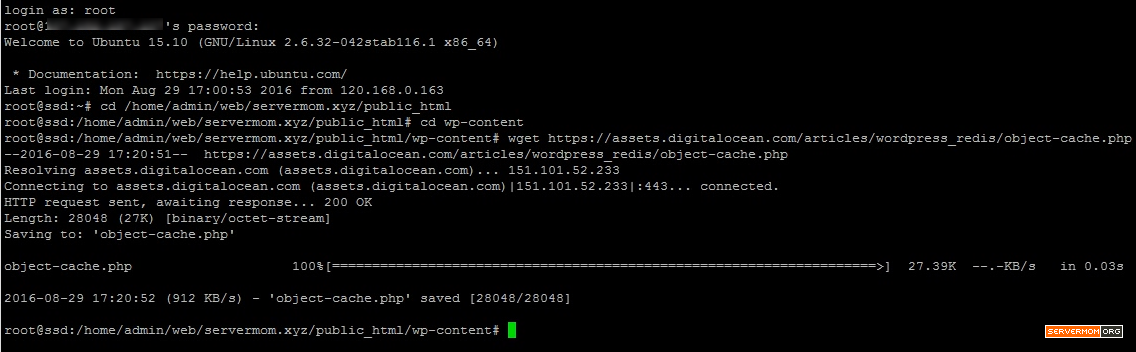
Again, you’ll need to replace admin with your own vestacp username and replace servermom.xyz with your own domain.
Step 3 – Next, edit wp-config.php file again.
cd ..
nano wp-config.php
Step 4 – And put following lines into the file right after WP Salt section :
define('WP_CACHE_KEY_SALT', 'servermom.xyz');
define('WP_CACHE', true);
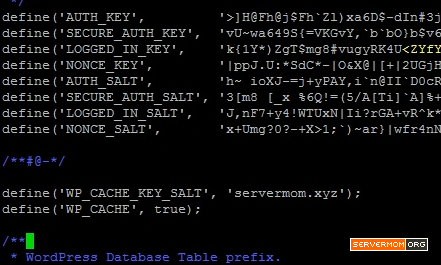
Save changes and exit the editor (Control+O then Control+X).
Step 5 – Set proper ownership and file permissions to all your WordPress files.
chmod -R 755 /home/admin/web/servermom.xyz/public_html
chown -R admin:admin /home/admin/web/servermom.xyz/public_html
Step 6 – Go back to web browser and open WordPress Plugins page. Search and install a plugin called “Redis Object Cache” by Till Kruss.
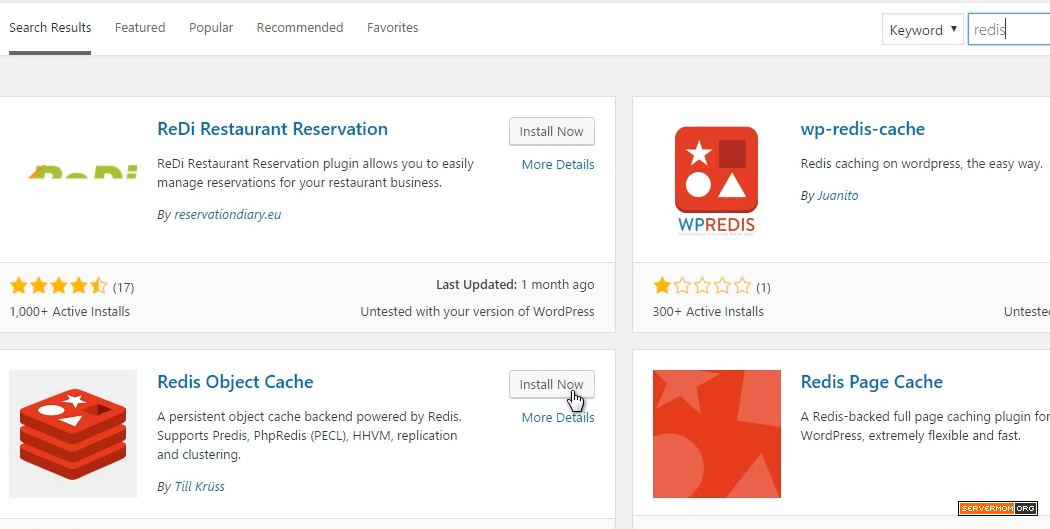
Install and activate that plugin.
Step 7 – You’ll then be redirected to its main page like following:
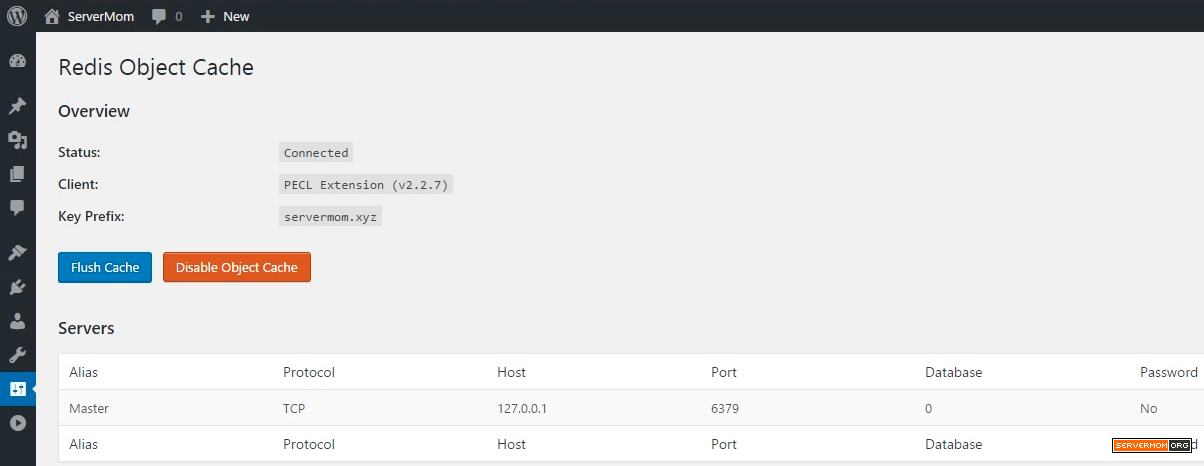
Congratulation!! At this point you have installed WordPress on an optimized VestaCP LEMP server. You may notice the sleekness of its page load even without any PHP-based caching plugin.
What’s next? We will try to test above configuration on a production server having a website with a real human visitors. Stay tuned for the next article and see how many visitors VestaCP with Nginx, PHP-fpm, MySQL, and Redis can handle. Do not forget to subscribe or follow us on twitter.


Sawiyati Greetings from Brazil,
I love its very well explained tutorials on the Linux world, servers and panels of Directors.
I’ve saved your site in my favorite !!!
Today I ask for your help through a tutorial on how we can install and Vtiger.com Odoo.com CRM / ERP open source in Ubuntu Vestacp.
I believe that these Open Source CRM solutions could help many small entrepreneurs and lonely sellers to get an efficient management and thus be able to grow your business and your sales.
Congratulations for the great work teacher Sawiyati :))))
How to setup WordPress Permalink for NGINX?
Vestacp includes ready-to-use Nginx conf template for Nginx. You can choose either WordPress or WordPress2 🙂
I have try Ram 1GB CPU 1 Core 5$ month m.do.co/c/12030080cec5 @digitalocean
Visited current online up 1.5K